


In this episode of Ask The Editor, we dive into Vertical Crop, FCPX Export Settings, Batch Transcoding, Organizing Footage.
With the launch of our new web series Ask the Editor, we wanted to take a moment to go a little more in depth on each of the topics we covered in Episode 1. We’ll have more episodes and blog articles available soon, but in the meantime submit your questions to our website or email us directly at ask@archaiuscreative.com.
Vertical crop
We decided to start the series off with a topic we hear a lot about: the Vertical Crop for Instagram. This is a controversial topic because nearly every filmmaker will agree that film is not meant to be cropped into this odd 4:5 aspect ratio. Plus, it seems like it should be easy enough for viewers to turn their screen to view the video horizontally. So why should filmmakers create content in anything other than the standard 16:9 aspect ratio?
We are fully aware that it’s a pain to fit your shots into Instagram’s vertical aspect ratio, but our pals at Love Stories TV have told us this is how video is being consumed on the platform, so we might as well embrace it. In an effort to support the videography industry’s performance on social media, we’ve launched free Premiere Pro and Final Cut Pro X template project libraries for immediate download through our website! So if a plug-and-play solution for Instagram settings is more your jam, check out our website now!
Instagram is a great platform to showcase your work, and drive potential couples to your full videos. A one-minute teaser, even in the vertical crop, is going to give you a lot more eyes than a still photo, so let’s get to the most ideal settings!
We’re going to talk about Final Cut Pro X later in this post, so for now we’re going to be focusing on Premiere Pro.
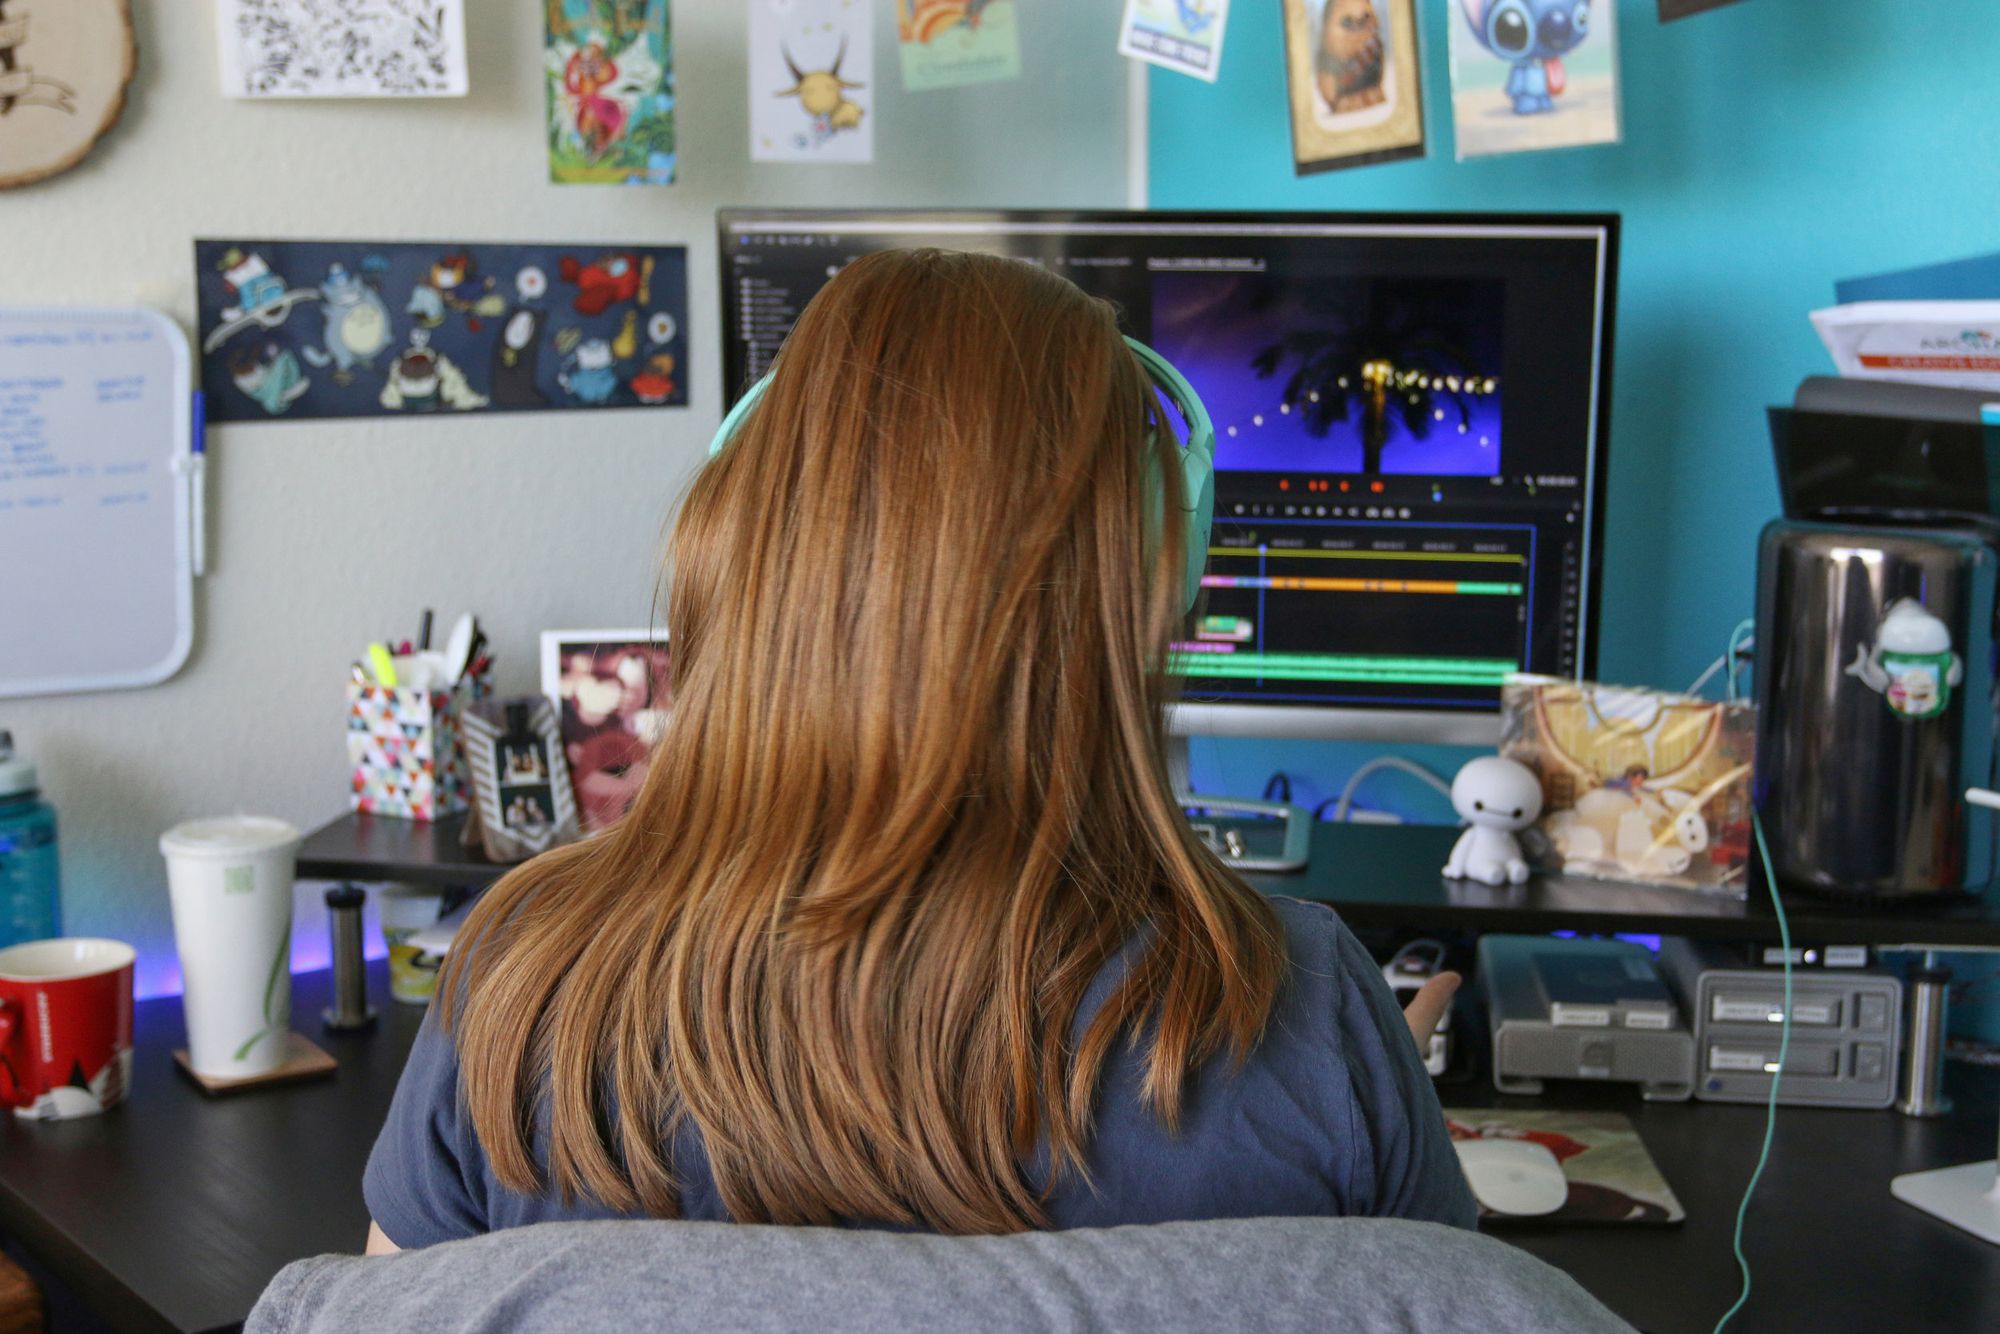
A New Sequence in Premiere Pro
Start off by creating a New Sequence, and from this window click “Settings.” At the top of the window, set the “Editing Mode” and “Timebase” to whatever matches your camera settings, for example DSLR and 23.976. In the “Video” section, set the Frame Size to 864×1080, and make sure the Pixel Aspect Ratio is set to Square Pixels (1.0). If you’re looking to create content for Instagram Stories, set the Frame Size to 1080×1920. Once you have this all set, you can actually save this as a Preset by clicking “Save Preset” in the bottom left of the window. Once you’ve named it to what you want, for example “Instagram Vertical Crop,” it will now appear in the Sequence Presets window at the bottom in the Custom bin. Saving the preset will save you some time when creating your teasers and alleviate any headaches from trying to remember the different settings. Or again, you can download our free Premiere pro library with all of these sequences pre-loaded and ready to go ????
If you already have a teaser made for YouTube or Facebook, you can pull it directly into this new sequence and reframe your shots as needed. When you pull your footage into this new sequence, make sure you click “Keep Existing Settings” so you don’t reset the timeline to the settings of your footage. The 4:5 aspect ratio will make reframing most shots fairly easy, but tight shots will of course prove more difficult. You’ll have to decide what is more visually pleasing in the frame, and that may require swapping out some shots.
Once you’ve built out the sequence accordingly, you can export the timeline as-is since you’ve set your sequence up with the appropriate crop. In the Export window, choose “H.264” for the Format, and “Match Source – High Bitrate” for your Preset. H.264 is the preferred codec for social media, as it results in a small file size with decent quality.
Under the Audio tab, change the “Sample Rate” to 44100Hz. Instagram is going to do this automatically when compressing your video, so it is better to do it yourself to preserve quality.
Or, Changing Export Settings in Premiere Pro
If you don’t want to go through the hassle of converting your teaser to a Vertical Crop sequence, you can create the vertical crop from the Export window.
Under “Video,” uncheck the box to the right of the Width and Height. Once that is unchecked, change the frame size to 864×1080, and then in the top left under “Source Scaling,” choose “Scale to Fill” from the drop down menu. Set your Format and Preset to the same settings as above and you can export the teaser without going through the process of setting up a new sequence. Just keep in mind, that since you’re not reframing any of your shots, you run the risk of shots having odd cropping. So, if you want to make just one timeline, consider using crop lines while creating your teaser so you know how the crop will affect the footage. You can check out this video from the team behind the How to Film Weddings podcast to see an example of this workflow.
You can bump up the bitrate if you want, just make sure your file is less than 4Gb as that is Instagram’s max file size. Ideally, you should keep the file around the 1Gb size to avoid any playback issues. A smaller file is going to be your best bet against lag or buffering issues. With 1080p footage, the minimum bitrate you want is 8Mbps, the “Match Source – High Bitrate” preset will put you will within that range.
When the export is complete, you can AirDrop the file to your phone if you’re on a Mac, or move it to Dropbox or Google Drive and use either app to upload to Instagram.
One final thing to be aware of: when setting your Cover Image, make sure you choose something that looks good in the Vertical Crop as well as the Square Crop. When the video appears on your feed it will be in the perfect square crop, so you want to make sure that whatever image you choose isn’t going to crop in weird once it is in that square.
Honestly, as someone who scrolls through Instagram mindlessly I highly recommend the Vertical Crop. You can take advantage of the full viewing space the app allows, and even though I work in the industry…I never turn my phone to view the video horizontally, and I just prefer the look of the Vertical Crop. Video is huge for social media, so going the extra mile to meet people where they’re at is going to get you better traction.
What are the best export settings in FCPX for Vimeo, YouTube, Instagram, Facebook and why?
I can understand where this question is coming from because you don’t get as much control over your export settings when you’re exporting directly out of FCPX. However, you can get a little more control over the settings if you use Compressor. The easier route is going to be to export directly out of FCPX, so we can start with those settings.
Exporting Directly from FCPX
Let’s start with Instagram and Facebook – remember to set up your Project with the Frame Size 864×1080 for Instagram. Once you have your teaser set up, export a Master File. I would recommend exporting it with the “Computer” Format as this will give you a .mp4 file type, which is one of the preferred file types for these platforms. Under “Video Code” choose “H.264-Best Quality”, since this is the preferred codec for both platforms.
For Vimeo and YouTube, I would stick with the default format “Video and Audio,” which will give you a higher quality export and a .mov file type. I would still choose the H.264 codec, in order to keep the file size small. This is especially important if you don’t have the best internet speeds, as you don’t want to get stuck waiting for a massive file to upload.
Other export options:
- The “Computer” and “Video and Audio” Formats have the best data rates (especially for 4K footage), so you’ll get the best result with these two formats.
- “Web Hosting” and “Apple Devices” have less than ideal data rates, so you’ll get a much lower quality export which isn’t great when you consider the compression all of these apps utilize.
- “Apple Devices” creates a .m4v file which isn’t widely supported, so you could run into issues with players that can’t read the file properly.
Exporting Using Compressor
If you’re familiar with Compressor, you can dial in the settings at a deeper level. For Instagram/Facebook the above settings will get the job done, but for Vimeo and YouTube you will get better results out of Compressor:
From FCPX, send your project to Compressor and once there click “Add Output” at the bottom of the view window, and from that menu choose Apple ProRes 422 HQ. In the top right corner of the screen, under “Video” change the “QuickTime Settings” to “H.264.” In the secondary window that pops up, move the slider under “Quality” all the way to the right under “Best.” As stated earlier, H.264 is preferred codec for social media, and this setting will allow you get a high quality export in the small form factor.
There are two very important things to remember about social media:
- All of the platforms are going to further compress your export
- Most people are viewing content on their phone.
That doesn’t mean you want to put out the smallest, lowest quality file. But rather, to combat that compression, you want to upload the cleanest file possible without too much headache. Spending a lot of time trying to get a super high res, crisp image when it is only going to be compressed arbitrarily by the app isn’t worth your time. Take the time to develop the best export settings for your final deliverable, make the best social media content you can, and use that to drive people to your high quality full video.
Batch transcoding footage
Batch transcoding your footage comes in handy if you’re being asked to deliver raw media and you want to shrink the overall size of the footage while maintaining quality. Another scenario where this is helpful is if you’re using different types of cameras and want the footage to be the same file type before you start working.
We at Archaius Creative are primarily Premiere-based, so we’re going to be talking about Premiere Pro and Media Encoder. We are working on FCPX dedicated episodes of Ask the Editor, so check back for those!
Start by creating a New Project, we use the format [BRIDE+GROOM] so we’ll call it [BRIDE+GROOM] TRANSCODE. Once you have the name and location set up, click the “Ingest Settings” all the way to the right, and from the drop down menu choose “Transcode.”
This is also the same place where you would create Proxies if you’re working with 4K footage. If your computer is having a hard time with 4K footage I highly recommend using a Proxy workflow, it’ll save you a lot of time and headache. Check out our 3-Part Proxy Workflow on our YouTube page for more information!
From the “Preset” drop down menu, pick the codec that works best for what you’re trying to do. If you want to decrease the size of your footage folder in order to share raw footage with a client, H.264 will be your best bet. If you’re looking to transcode all of your footage to the same file type, Apple ProRes 422 will work great, or if you’re looking to create proxies, GoPro Cineform is the one for you. All of these will deliver high quality files for you to work with, just keep in mind Apple ProRes files will be rather large so make sure you have enough storage space.
Under “Primary Location” choose the location that best works for your workflow. I would recommend setting up a new folder on an external hard drive, this will keep the new files separate from your Raw Media. Keeping with our same naming structure, we’ll call this folder [BRIDE+GROOM] TRANSCODE MEDIA.
Keeping files on a separate drive from your operating system makes for a smoother workflow. For more information on Hard Drive Workflow, check out our article on Hard Drive Delegation.
Once you have all of your settings complete, click “OK.”
Now that we have the project file all set up, we just need to import the media. Select all of your footage folders and “Import.” Once the footage starts importing, Media Encoder will automatically open, and start populating the files with the appropriate codec. When all of the files have imported into Media Encoder, just click the green “play” button in the top right and let the transcode run.
From there, you can load the TRANSCODE footage folder onto a hard drive and deliver it to your client, or import the new transcoded footage into your project file and start working.
How do you organize your footage?
This is something that I get asked a lot when people hear that I don’t cull or organize my projects’ footage. One of the great things about working at Archaius Creative is we have specialized positions so everyone is contributing in the space for which they are best suited . As a Creative Editor, I don’t have to worry about organizing the footage or completing the color grade and final audio mix. I strictly focus on crafting the best story with the best visuals and work with the client to get that finalized.
We dive into our workflow a little more in our previous blog post, Why Editors Need a Workflow System, but I want to explain how we organize our footage before we actually start the edit:
When a project hits my desk, all of the footage has been scrubbed and organized, and all multicam sequences have been synced. When I open the project file, I have a bank of timelines organized into several different bins.
All of the culled footage is organized chronologically and divided into the three “acts” of a typical Wedding Day or Weekend: Pre-Ceremony, Ceremony and Reception; if there is a Rehearsal we would create a fourth Bin for that footage. In each of those bins we have sequences for each event that happens in that specific part of the day. For example, under Pre-Ceremony, we would have Bride Prep, Groom Prep, First Look, etc… anything that happens prior to the Ceremony would be in this Bin.
Each sequence contains the usable footage, culled from the raw media that coincides with that event. What I mean by “usable” is the shot is in focus, without camera shake and relevant to that particular moment. If camera operators ever unknowingly walk around with their camera rolling, our Assistant Editors will cut out all of the fluff.
This style of organization comes in handy for editors that are not present during the shoot day because you can quickly look through the sequences to ensure all of the footage is present. All of our clients fill out a Project Details Form that provides information on how many cameras cover each event, as well as any notes our editors will need to be aware of when working through the edit. With this organization, I can open the Bride Prep sequence and confirm that there are two cameras present, or quickly identify any issues that may have happened when the footage was transferred.
Once I have confirmed all of the footage and audio is accounted for, I will begin scrubbing the footage on each sequence and organize it even further. As I move through the footage, I will start grouping similar clips into micro-events, or mini-stories, that I can use to build my film. I will move these small chunks of footage around the timeline in order to keep them in chronological order. So, for Bride Prep, I would have small chunks of footage for Bride Hair, Bride Makeup, Dress, Shoes, etc. until all of the footage has been organized.
This process may seem tedious, and on a 20 minute feature is certainly daunting, but once I sit down to edit a full piece, it really cuts my editing time down. For example, this process can take roughly 2 hours depending on how much footage there is (that’s including reviewing and notating all multicam sequences), but I can edit a 5 minute highlight in about 4 hours just by doing all of this front-end work.
As I’m organizing my clips, I can start pulling my “selects” up to the second line in order to quickly reference them when I’m editing. I try not to pull too many selects because I don’t want to have the edit in stone before I start. I feel like that’s when the most roadblocks happen. However, if there are significant moments the couple wants in the film, I’ll make sure to highlight them and build the rest of the event around those key moments.
If there’s a lot of footage for a particular event, like Couple Portrait Session, I’ll go even more OCD-minded and organize the chunk of footage into Wide, Medium, and Tight order. Again, it seems like a lot of work, but I know when I go back to build out that event and I want a wide of the Reception site to set the stage, or I want a close up of the couples’ hands together, I can navigate directly to that footage. Knowing exactly where that footage is on the timeline, and within the “chunk” allows me to find it in seconds rather than scrubbing through my footage every time I’m looking for a particular shot.
As I’m working through the sequences and building out my mini-stories, I can start building the film in my head and get a rough idea of any hurdles I need to overcome before I’m actually in the thick of it. If I open a new project and see that the Groom Prep timeline is really light, I know I will have to look for other ways to balance out my Preps section of the film. At this point, I’ll probably look at the Portrait Session footage and see if the videographer was able to capture some of the “fake it” moments with the groom. That footage would then be its own “chunk” on that sequence, so that I can quickly go back to it when I start editing. As I’m planning out my highlight, I’ll already have a solution in mind, rather than getting to that point and having to figure a way out of the hole. Since adopting this method, I’ve noticed I don’t get stressed out when working through any issues that a wedding’s footage may present.
Our editors are turning out first cuts every 3-6 days, so we’ve found the extra work on the front end of the project not only helps an editor work faster, but helps point out any potential roadblocks from the beginning. We’re at an advantage because we don’t actually shoot the wedding, which allows us to separate ourselves from anything that happened that day. But on the flip side, we’re at a disadvantage because we don’t know the couple, yet we have to tell their story. Moving through the footage in this way allows me to take the time to understand the key moments of their day, and then I can put together a piece that flows together naturally.